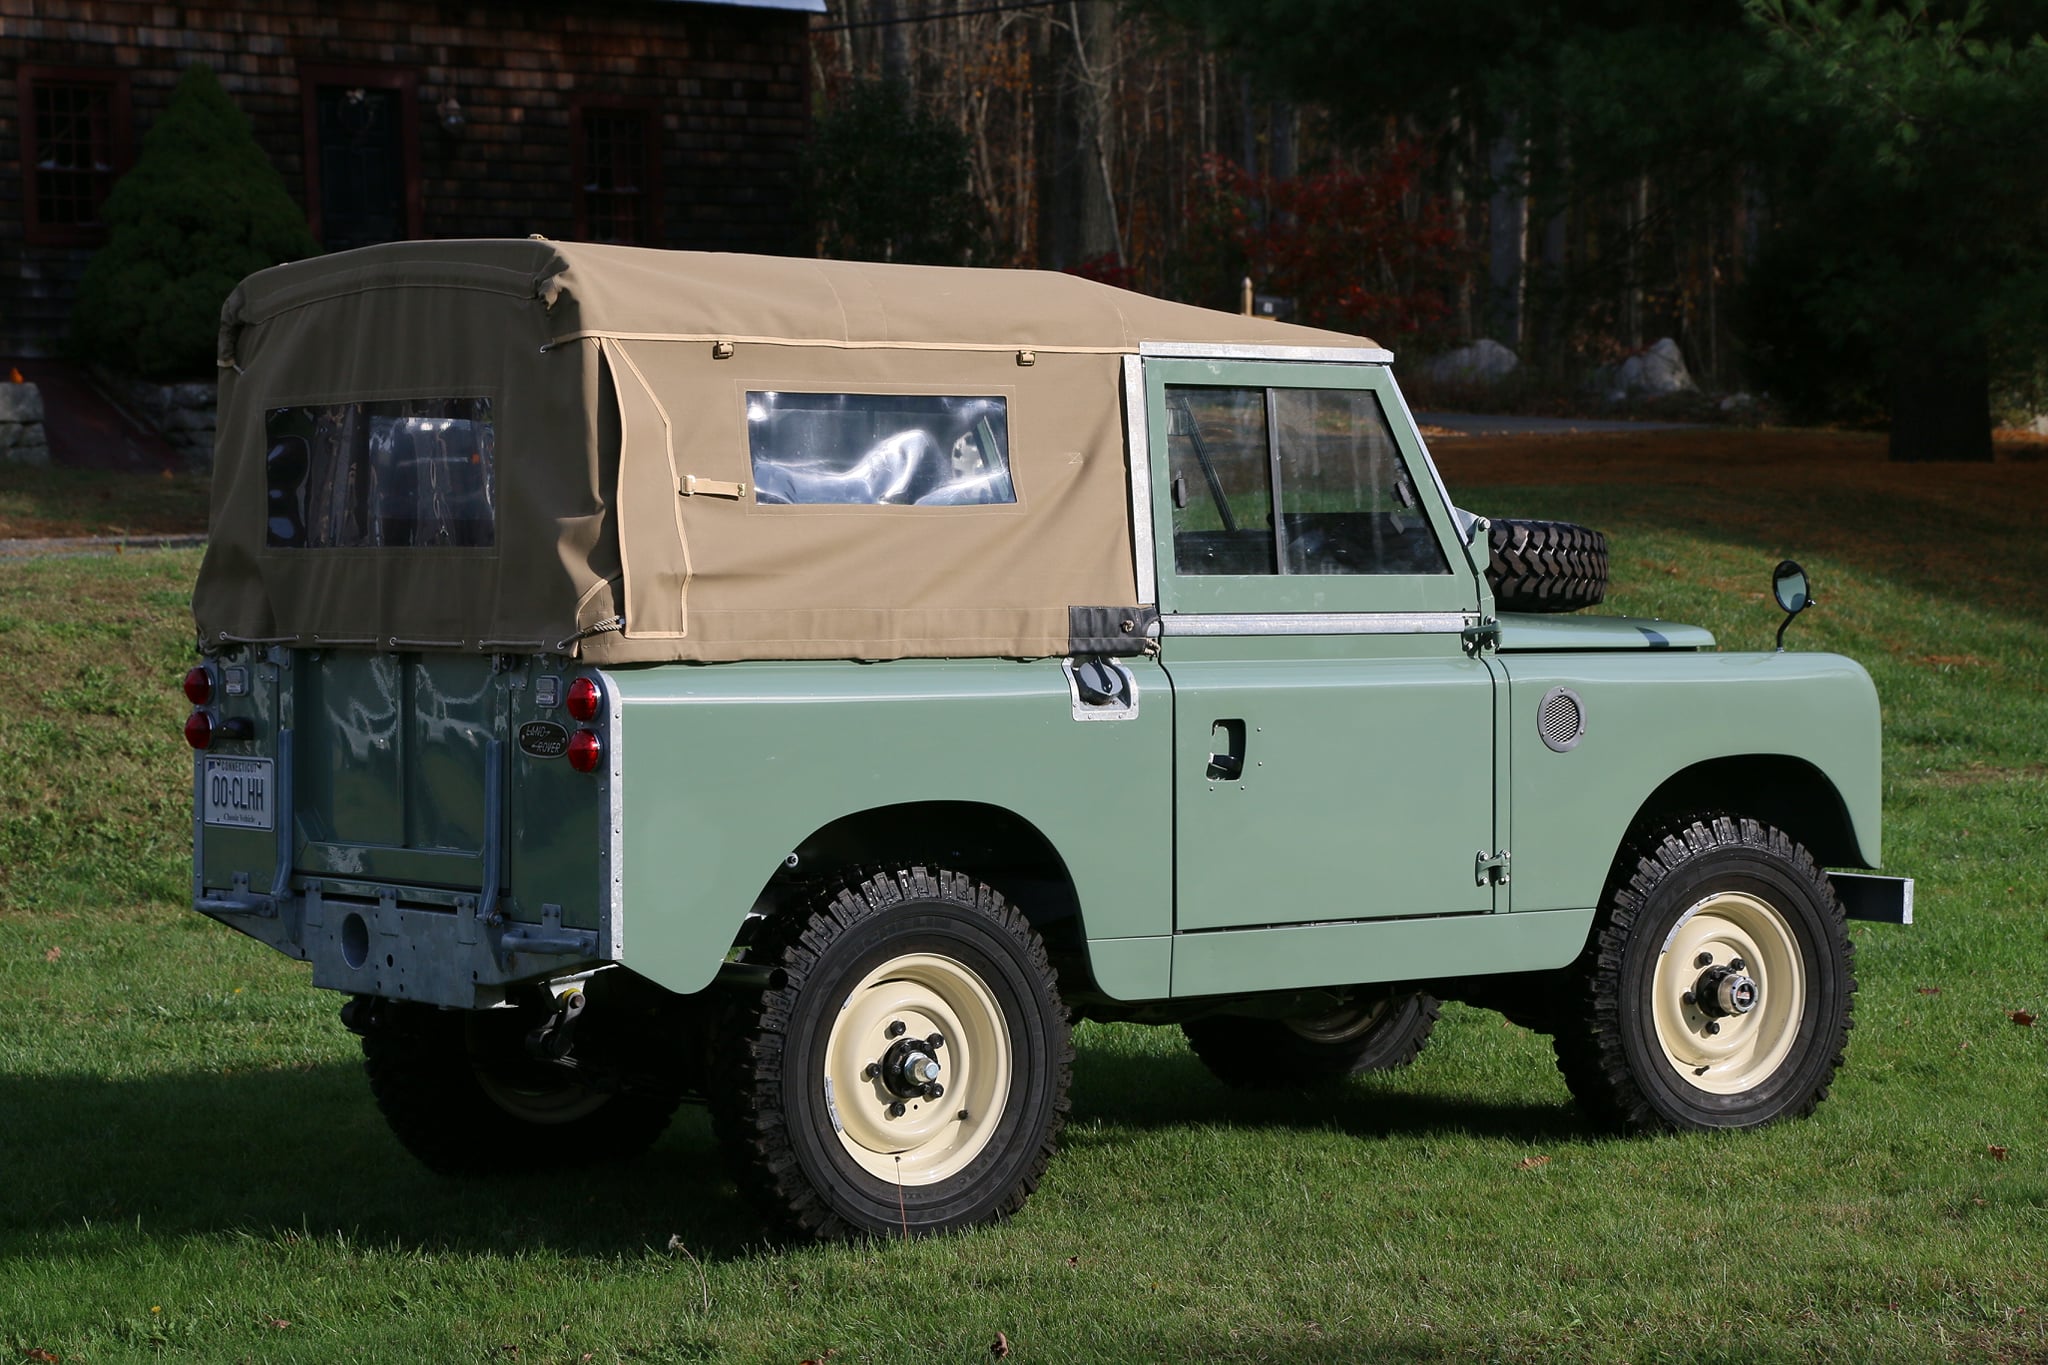
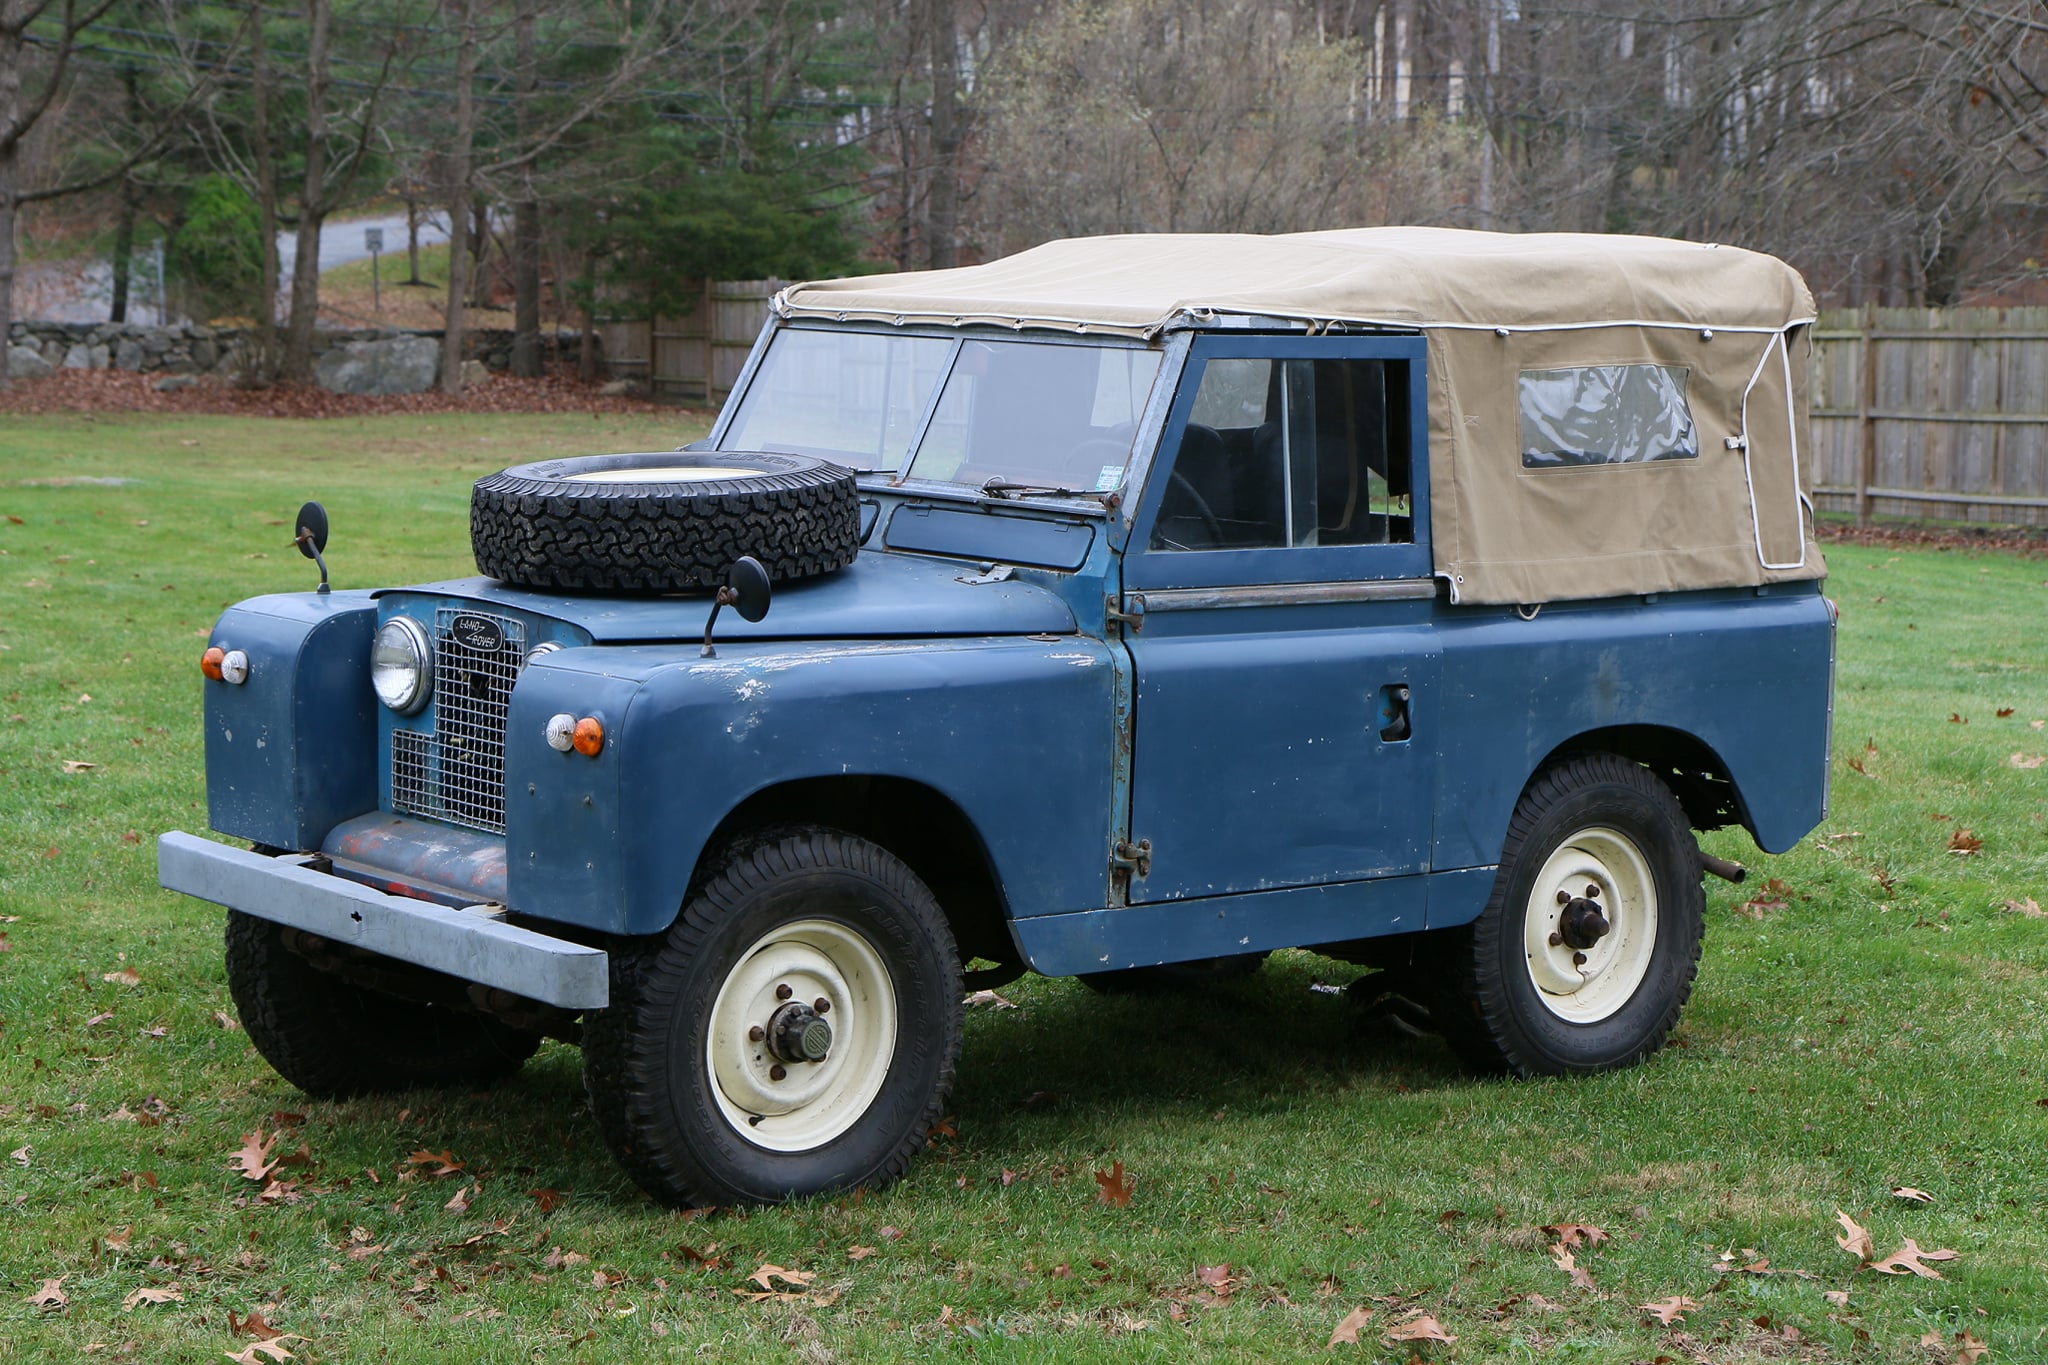
Selecting a Core Vehicle
To get started, we will first need a restoration candidate. You can choose a Land Rover from our unrestored inventory. We stock Series IIs and early Series IIAs with the headlights in the grille (1958 - mid 1968) as well as late Series IIAs with the headlights in the fenders (mid 1968 - 1971). The version you choose is simply a matter of personal taste. Or, you may already own a Land Rover that you would like restored. If this is the case we will simply ask you to email us photos of the vehicle and then we can move ahead to the next step.
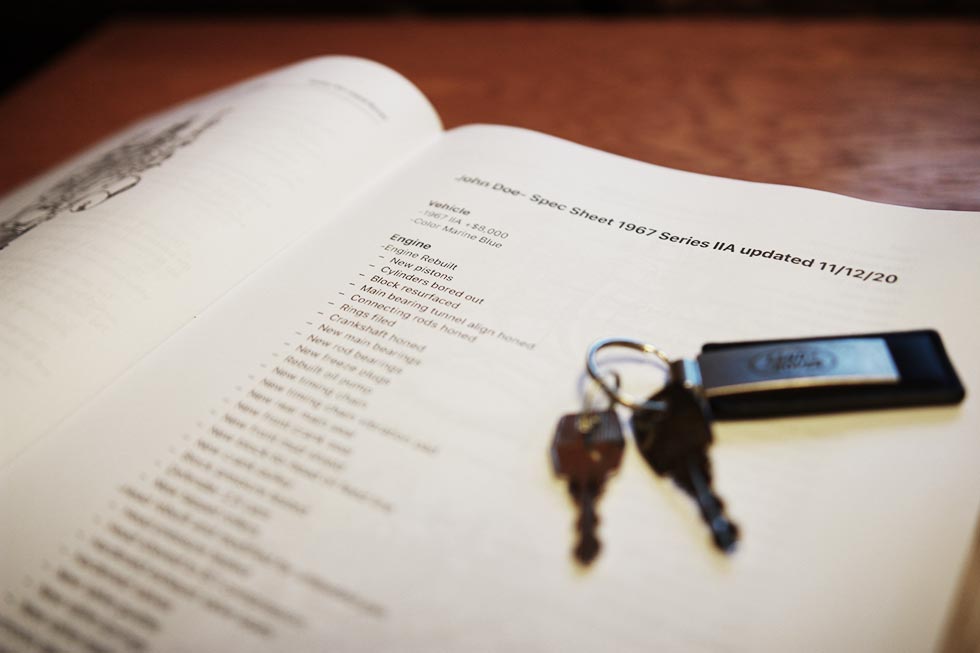
Spec Sheet
Next we will send you a spec sheet, a detailed list of the specification of your restoration. The spec sheet will state the cost and completion date of your project. The cost is calculated by adding the restoration cost (on our pricing page) and any options selected, if you do not have a Land Rover to restore then the cost of a vehicle from our inventory will need be added as well. The completion date is calculated based on the number of vehicles we have scheduled for restoration at that time. The completion date is typically 1-2 years from the time your spec sheet is created. If the spec sheet appears satisfactory then a project agreement will be signed and we will request a $20,000 deposit. Once the deposit is paid, your restoration slot and completion date is locked. We divide the project cost, minus the $20,000 deposit, into 12 payments which we will invoice over the course of the restoration process. Invoices can be paid by a check, direct deposit or credit card (credit card surcharge will apply).
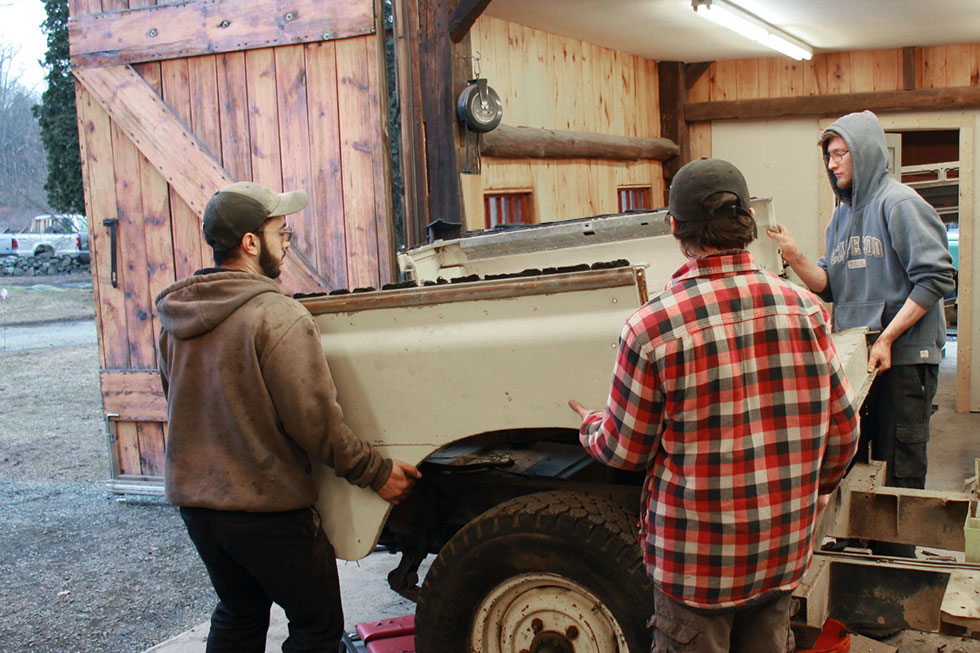
Disassembly
Once the deposit has been paid you can then arrange to have your vehicle shipped to us. As soon as the vehicle is received it will be fully disassembled. Every rivet, nut, bolt and screw will be removed and we will begin prepping the parts for restoration. Every step of the restoration process will be documented with photos that we can post on social media (or email to you) so you can follow along as your project moves forward.

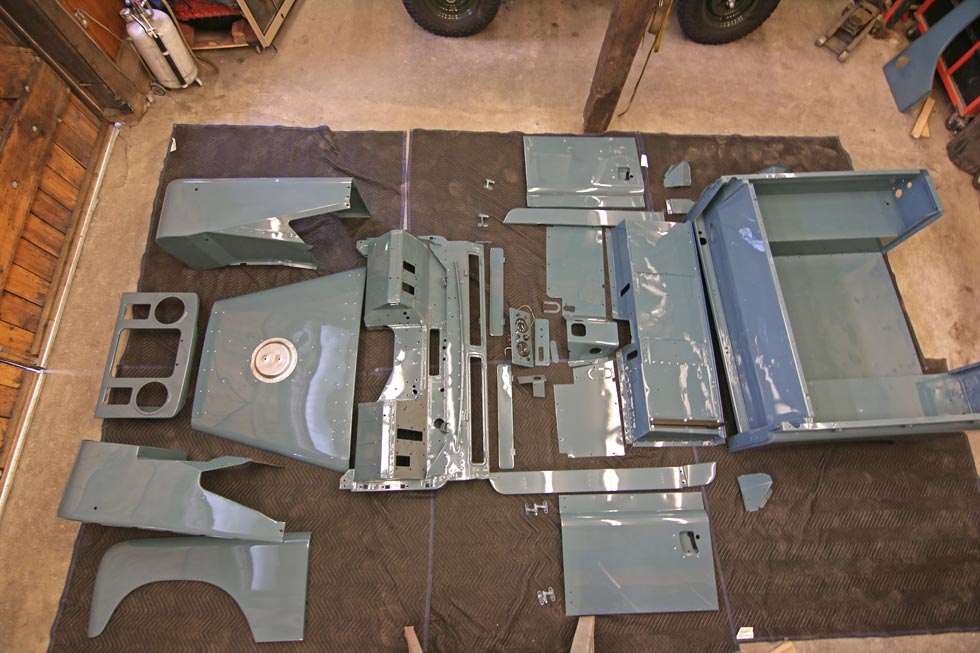
Body Work
After disassembly, each panel will be stripped to bare aluminum and any dings worked out with a hammer and dolly. Any cracks or unnecessary holes will be welded. Steel parts like the bulkhead (firewall) will be sandblasted, all rust cut out and new steel welded in. Any body panels that are beyond repair either due to dents or corrosion will be replaced. All body panels will be mocked up on the new galvanized chassis to ensure proper fit, they will then be completely dissembled and each panel repainted. As a rule, we paint both sides of every panel to help with corrosion resistance.
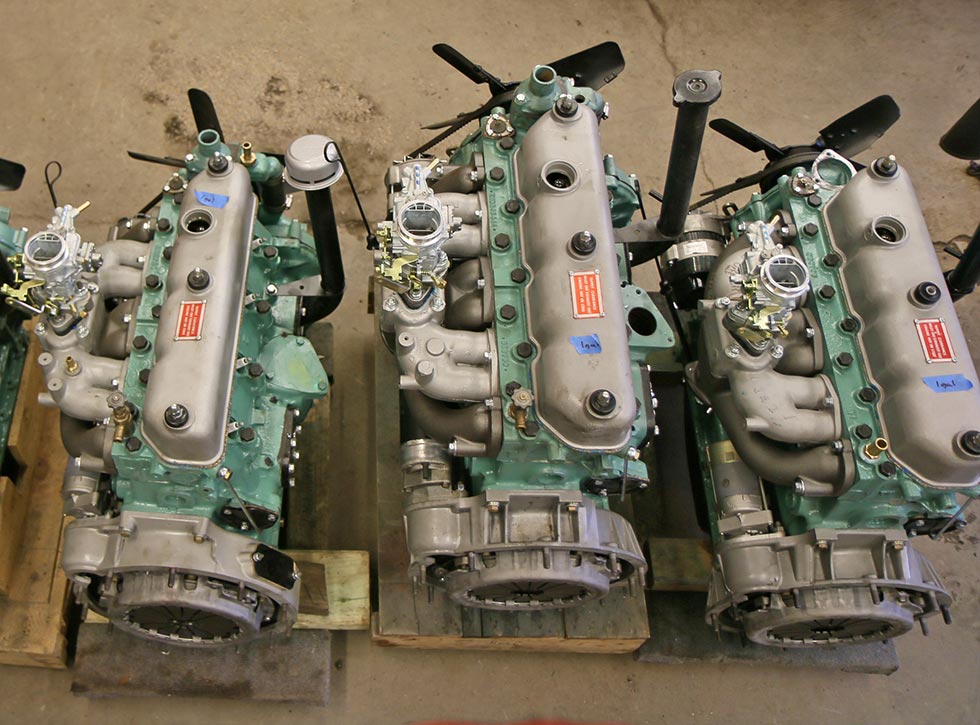
Drivetrain
After the body panels are prepped for paint, the drivetrain work will begin. The engine is fully rebuilt to NAO specifications with a slight horsepower increase and to allow the use of unleaded gas. There are hundreds of components that make up a Land Rover drivetrain and every one needs to be replaced or rebuilt. Land Rovers are famous for many things but oil leaks certainly top the list, we take measures to minimize leaks by using modern solutions and materials. Another problem is that modern gasoline has a lower boiling point than it did back in the 60s due to its ethanol content. Because the carburetor is mounted over the exhaust manifold, vapor lock, and other heat-related problems can occur. We solve this by fitting electronic fuel injection to our engines. The computer will decide how to keep the engine running efficiently in all situations and certainly takes the stress out of driving on very hot days or very cold days. After the restored motor is dropped into the frame rails, we will mate the transmission to it. Original Series IIA transmission gears are not synchronized and require double clutching, a skill that most people today do not have and there is potential for transmission damage with one wrong shift. For this reason, we install a fully Defender R380 5 speed transmission that unlike the original is fully synchronized and can be shifted without the hassle of double clutching. Having a fifth gear also allows the Land Rover to travel at speeds higher than their original cruising speed of 45 mph. In addition, we use hardened steel rear half shafts to replace the original units that are prone to breaking.
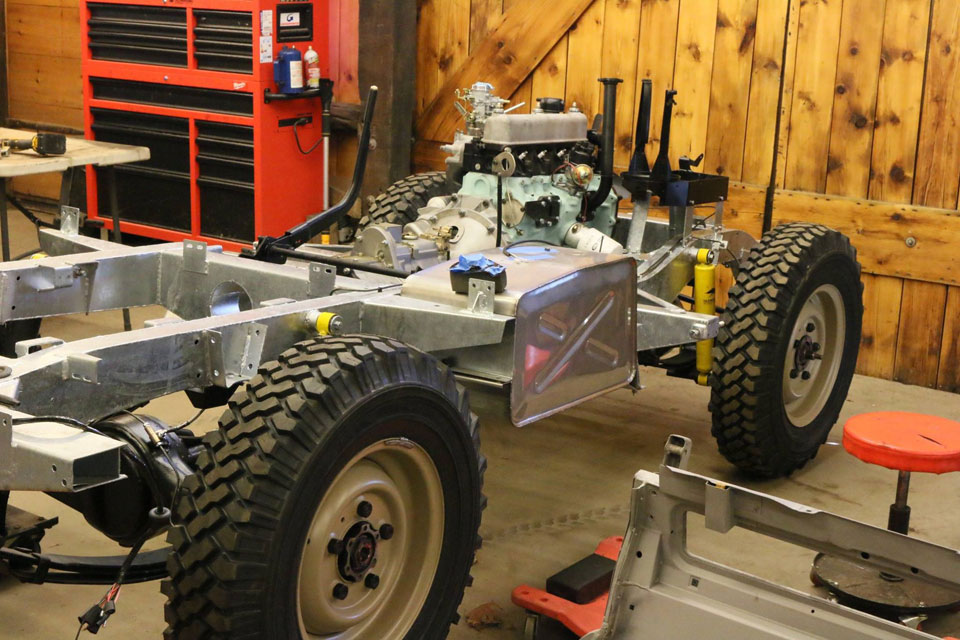
Rolling Chassis
The boxed design of the Land Rover's frame is very strong but also susceptible to rust when dirt and moisture gets trapped inside. Most original frames have some degree of hidden rust or even stress cracks so we begin every project with a new galvanized frame. The axles are installed on new parabolic springs and damped with nitrogen gas shocks. These springs ride smoother than the stiff original springs that were designed for carrying heavy loads at the expense of comfort. We use 5.5” x 16” Defender welded steel wheels designed for modern tubeless tires in place of the 5” wide riveted steel tube type wheels. The Defender wheels look almost identical to the Series wheels but with a notable safety improvement and slightly wider stance. We mount Michelin XZL 7.50 16 tires to the new wheels, these tires are a commercial grade radial that are similar in appearance to the original tires. The manual steering box is rebuilt and all new tie rod ends installed. Since high quality Series IIA tie rod ends are not available we change out all three tie rods to Series III type. Even by 1960s standards the Land Rover’s brakes were considered marginal and when the periodic manual adjustments are neglected, can be down right dangerous. For this reason the brake system is converted to safer, dual master cylinder power brakes and the archaic drum brakes are replaced with modern four wheel disc brakes from a Defender. Safety is very important to us.
Body
After the panels have been painted, the body assembly will begin. Many steel parts that make contact with the aluminum panels are galvanized to prevent galvanic corrosion (the steel is now isolated from the aluminum with a coating of zinc). Of course, the exterior parts that came from the factory with a galvanized finish are re-galvanized as well. The body cappings are fastened to the freshly painted panels using the correct hammer rivets. Every nut, bolt, washer and rivet is replaced during the restoration. All bolts used on the exterior of the vehicle are galvanized or stainless steel. Door tops are especially prone to rust and corrosion so new extruded aluminum units are used that will last a lifetime. New glass is installed in the re-galvanized windshield frame. The bulkhead, windshield frame, soft top hoop set and tub are installed, the doors are then hung and the bulkhead and tub shimmed and adjusted for optimum door fit. While our goal is to update and improve the mechanical aspects of the vehicle, our goal for the body is to maintain aesthetics that are as true to the original vehicle as reasonably possible.
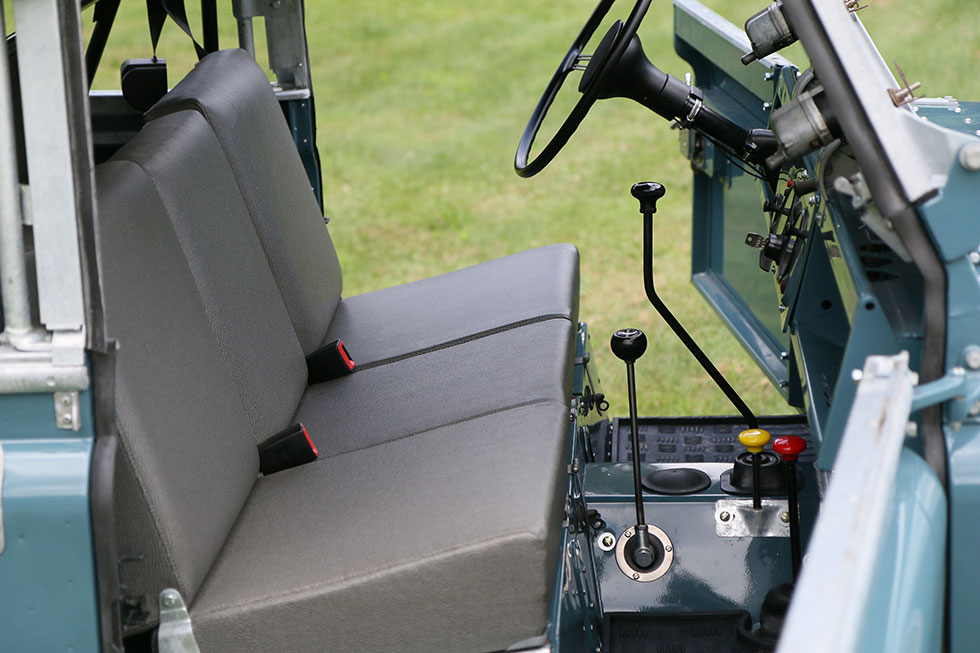
Interior
The beauty of the Series IIA interior is derived from the simplicity of its design. The iconic all-metal dash is universally revered by Land Rover enthusiasts, as is the banjo steering wheel and ‘Elephant Hide’ seat upholstery. All body panels are painted to the same standards inside as they are outside. Just sitting in a restored Series IIA provides a stark counterpoint to today’s unstimulating car interiors; you are surrounded by aluminum, galvanized steel, and aircraft rivets without a single piece of plastic trim to offend the eye. Defender shoulder harness seat belts are installed using a seat belt bar to locate their anchor point in the proper location. Lap belts are installed in the back for the safety and convenience of your passengers.
Project Completion
It is now time to turn the key and fire up the engine. Hearing the rebuilt engine come to life is always exciting! Before taking it out for its first test drive, we will thoroughly inspect the Land Rover following our extensive pretest drive checklist. We will put 500 test drive miles on the vehicle to ensure that everything is working properly and that the engine is broken in properly. The newly restored Land Rover is now ready to be shipped to your home! You will receive our owner’s manual written specifically for our restored vehicles which will explain in simple terms how to drive, maintain, and care for your Series IIA. By choosing to restore a vintage Land Rover you will not only save a piece of automotive history but also gain a fun and useful vehicle that will provide decades of faithful service and help make wonderful memories that will last a lifetime.